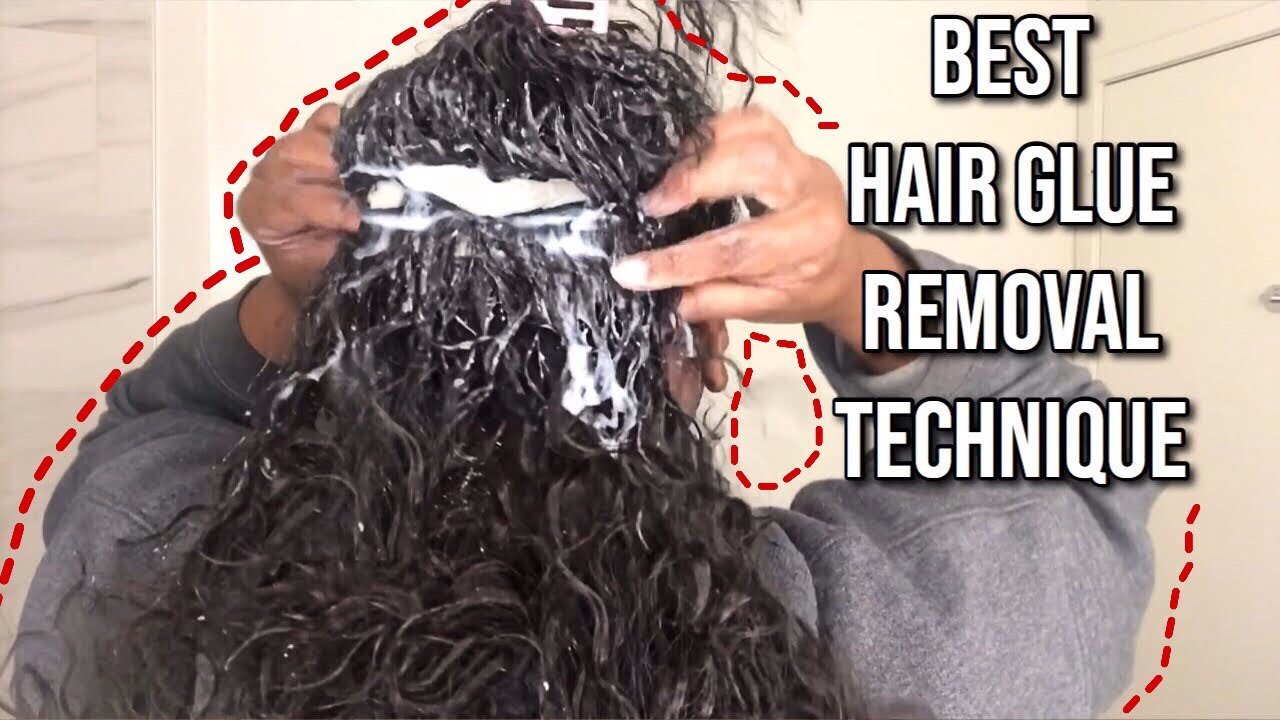
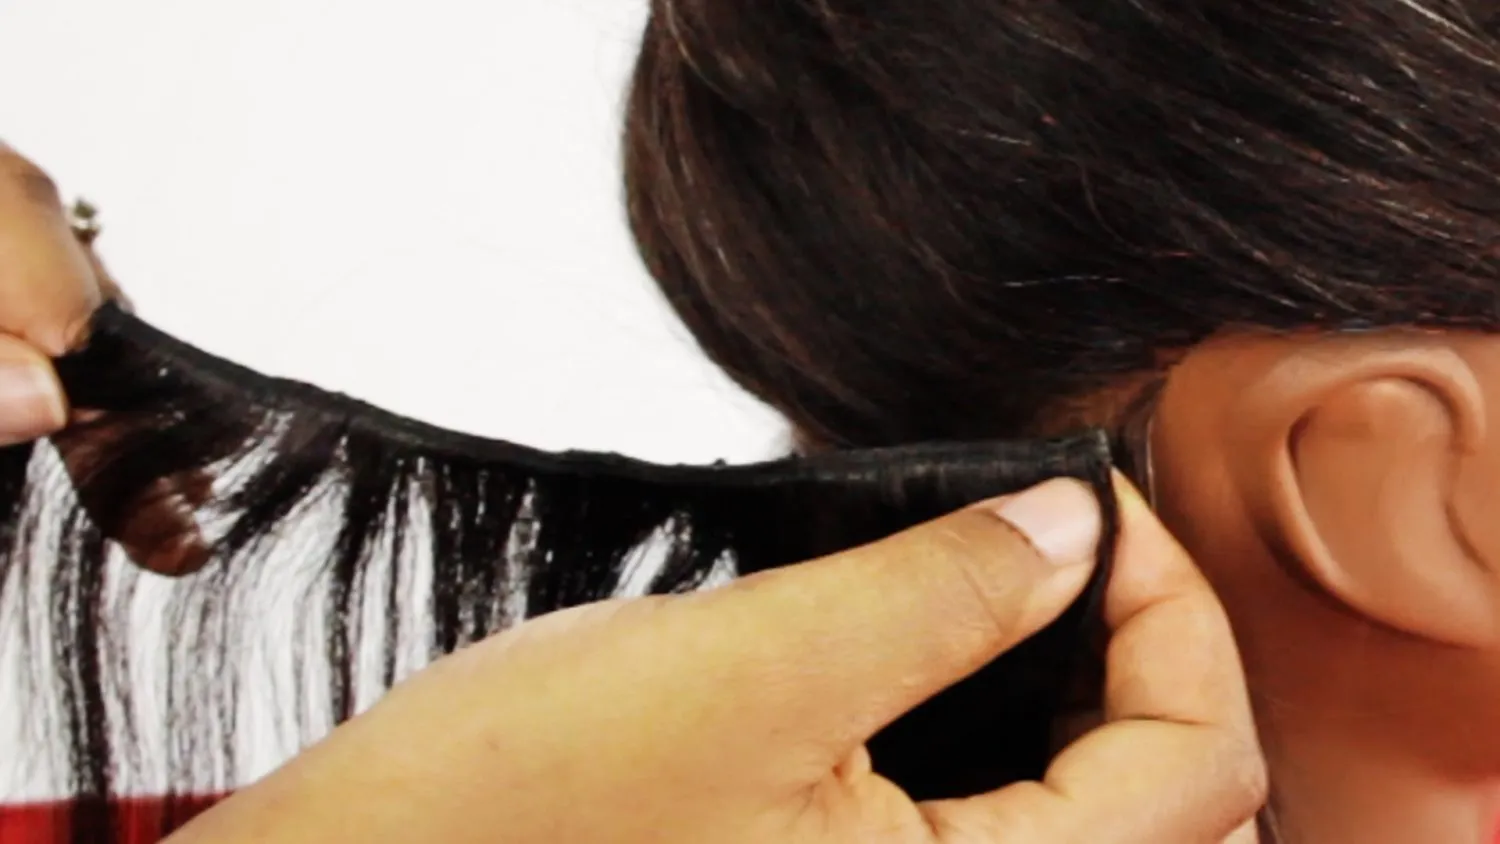
Glue-in weaves have become increasingly popular in recent years as a convenient and versatile way to achieve long, voluminous hair. As the name suggests, this method involves using adhesive glue to attach hair extensions directly onto your natural hair. The result is a seamless blend that can last for several weeks with proper care. Today, Weaving.top will discuss about how to remove glue in weave!
While glue-in weaves offer many benefits, it’s important to consider the drawbacks as well. On the positive side, they provide instant length and volume without the need for time-consuming braiding or sewing techniques. They also allow for more flexibility in styling since the extensions are attached close to the scalp.
However, there are some downsides to be aware of before diving into glue-in weaves. One major concern is potential damage to your natural hair and scalp. The adhesive used in this method can be harsh on your strands if not applied or removed correctly. Additionally, some individuals may experience allergic reactions to the glue itself.
Key Takeaways
- Glue-in weaves are a popular hair extension method, but glue removal is often necessary.
- Common reasons for glue removal include discomfort, damage to hair, and the end of the hairstyle’s lifespan.
- Preparing for glue removal involves gathering necessary tools and protecting your hair and scalp.
- Tools needed for glue removal include acetone, a rat tail comb, and a clarifying shampoo.
- To minimize damage to your hair during glue removal, work slowly and carefully, and follow up with post-removal hair care.
Common reasons for glue removal
There are several common reasons why someone might want or need to remove their glue-in weave before its intended lifespan is up. One of these reasons is simply wanting a change in hairstyle or wanting to try out different looks without committing long-term.
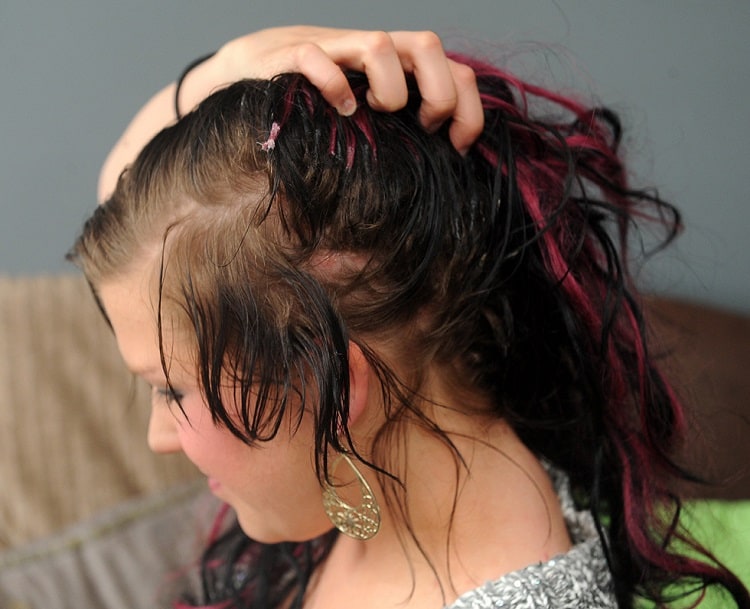
Another reason for removing a glued weave is if it has caused damage either to your natural hair or scalp over time. This could include issues such as breakage, thinning of hair strands, or even irritation and inflammation on the scalp due to prolonged use of adhesive products.
Lastly, some individuals may develop an allergic reaction towards the specific type of adhesive used in their weave installation process which necessitates immediate removal.
Preparing for Glue Removal
Before embarking on removing your glued-in weave at home, it’s essential that you gather all necessary tools and supplies beforehand so that you have everything within reach during the process.
Some tools you will need include:
1) A wide-toothed comb or detangling brush: This will help you gently separate and detangle your natural hair from the glued extensions without causing unnecessary breakage.
2) Adhesive remover: There are specific adhesive removers available in the market that are designed to dissolve the glue used in glue-in weaves. It’s important to choose a high-quality product that is safe for both your hair and scalp.
3) Cotton balls or pads: These will be used to apply the adhesive remover onto the glued areas of your weave. They provide a controlled application and minimize messiness during removal.
4) A plastic cap or shower cap: This will be used to cover your head after applying the adhesive remover, allowing it time to work its magic on dissolving the glue.
Once you have gathered all these tools, it’s crucial to protect your hair and scalp before starting the removal process. You can do this by applying a generous amount of oil or conditioner along your hairline and around any exposed edges where glue may have come into contact with your skin. This creates a barrier between the adhesive remover and your skin, reducing potential irritation.
Tools needed for glue removal
| Tool Name | Description | Price | Availability |
|---|---|---|---|
| Heat Gun | A tool that uses hot air to soften glue for easy removal. | 20-100 | Available at hardware stores and online retailers. |
| Scraper | A handheld tool with a flat blade used to scrape off glue residue. | 5-20 | Available at hardware stores and online retailers. |
| Solvent | A chemical solution that dissolves glue for easy removal. | 10-30 | Available at hardware stores and online retailers. |
| Adhesive Remover | A gel or liquid formula that breaks down glue for easy removal. | 5-20 | Available at hardware stores and online retailers. |
When it comes to removing glue from a weave, having the right tools is essential for an effective and efficient process. Here are some tools you’ll need:
1) Rat tail comb: This tool has a long, pointed end that can be used to carefully lift sections of glued hair away from your scalp without causing damage.
2) Fine-toothed comb: Once you’ve lifted sections of glued hair with a rat tail comb, use a fine-toothed comb to gently tease apart any tangles or knots in order to make removal easier.
3) Adhesive solvent/remover: As mentioned earlier, using an adhesive solvent specifically designed for removing glue-in weaves is crucial. Look for one that is gentle yet effective at breaking down adhesives without causing damage to your natural hair.
4) Disposable gloves: Wearing disposable gloves during the removal process can help protect your hands from any potential irritation caused by the adhesive remover or glue residue.
5) Warm water and mild shampoo: After removing the glue, it’s important to thoroughly cleanse your hair and scalp to remove any remaining residue. Use warm water and a mild shampoo that won’t strip away essential oils or further dry out your hair.
Step-by-step guide to removing glue from your weave
Now that you have all the necessary tools and supplies, let’s dive into a step-by-step guide on how to remove glue from your weave:
1) Start by sectioning off your hair: Divide your natural hair into manageable sections using clips or hair ties. This will make it easier to work through each section without getting overwhelmed.
2) Apply adhesive remover: Take a cotton ball or pad soaked in adhesive remover and gently dab it onto the glued areas of each section. Allow the remover to sit for a few minutes, giving it time to break down the adhesive.
3) Gently lift glued sections: Using a rat tail comb, carefully lift small sections of glued hair away from your scalp. Be patient and gentle during this process to avoid pulling or tugging on your natural strands.
4) Detangle with a fine-toothed comb: Once you’ve lifted each section, use a fine-toothed comb to gently detangle any knots or tangles in both the extensions and natural hair. Work through each section methodically until all tangles are removed.
5) Repeat steps 2-4 as needed: Depending on how much glue was used during installation, you may need to repeat steps 2-4 multiple times until all traces of adhesive are gone. Take breaks if necessary but try not to rush through this process as patience is key for minimizing damage.
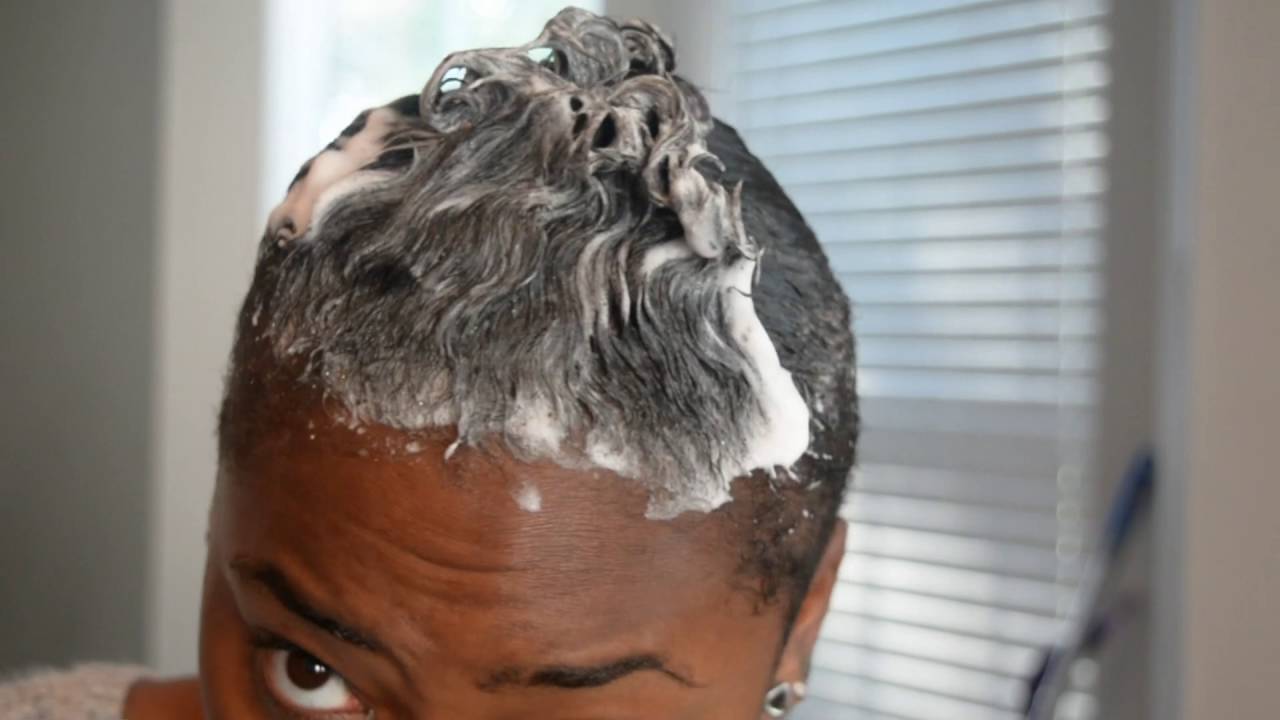
6) Rinse with warm water and shampoo: After all the glue has been removed, thoroughly rinse your hair with warm water. Follow up with a mild shampoo to cleanse your scalp and remove any remaining residue.
7) Deep condition and moisturize: To restore moisture and nourishment to your hair after the removal process, apply a deep conditioning treatment or mask. Leave it on for the recommended time before rinsing it out.
8) Style as desired: Once your hair is clean and conditioned, you can style it as desired. Be mindful of using heat styling tools sparingly to avoid further damage.
Tips for minimizing damage to your hair
While removing glue from a weave can be challenging, there are several tips you can follow to minimize damage and keep your natural hair healthy:
1) Be patient: Rushing through the removal process can lead to unnecessary breakage or pulling on your natural strands. Take your time and work through each section carefully.
2) Use gentle motions: When detangling or combing through glued sections, use gentle motions to avoid causing additional stress on both the extensions and natural hair.
3) Avoid excessive heat styling: Heat styling tools such as flat irons or curling wands can further weaken already compromised strands. Opt for heatless styles whenever possible or use low-heat settings if necessary.
4) Moisturize regularly: Glue-in weaves can sometimes cause dryness in both the extensions and natural hair due to limited access to moisture. Regularly moisturize with leave-in conditioners or oils that penetrate deeply into the strands.
5) Limit chemical treatments: Chemical treatments such as relaxers or colorants should be avoided while wearing a glued-in weave since they can weaken already compromised strands even further.
Post-removal hair care
After successfully removing glue from your weave, it’s important to give extra care and attention to restore health back into your natural locks:
1) Trim split ends: Glue-in weaves can sometimes cause split ends due to the stress placed on your natural hair. Schedule a trim to remove any damaged ends and promote healthy growth.
2) Deep condition regularly: To replenish moisture and nourishment, incorporate deep conditioning treatments into your regular hair care routine. Look for products that are specifically formulated for damaged or chemically treated hair.
3) Avoid excessive manipulation: Give your hair a break from tight hairstyles or excessive manipulation that can cause further damage. Opt for loose styles that allow your strands to breathe and recover.
4) Protect at night: Invest in a satin or silk bonnet or pillowcase to protect your hair while you sleep. These materials help reduce friction and prevent breakage caused by rubbing against cotton pillowcases.
5) Maintain a healthy diet: A balanced diet rich in vitamins, minerals, and proteins is essential for promoting overall hair health. Incorporate foods such as leafy greens, lean meats, nuts, and seeds into your meals to support strong strands.
Alternatives to glue-in weaves
If you’re looking for alternatives to glue-in weaves, there are several options available:
1) Sew-in weaves: This method involves braiding the natural hair tightly against the scalp before sewing extensions onto the braids using a needle and thread. Sew-in weaves offer longer-lasting results without the need for adhesive products.
2) Clip-in extensions: These temporary extensions can be easily clipped onto your natural hair whenever you want added length or volume. They are versatile since they can be removed at any time without causing damage.
3) Tape-in extensions: Similar to glue-in weaves but with less potential damage, tape-ins involve attaching pre-taped extensions directly onto sections of natural hair using double-sided tape specifically designed for this purpose.
Each alternative has its own pros and cons depending on factors such as desired longevity, ease of installation/removal process, budget considerations, and personal preferences.
How to prevent glue build-up in the future
To avoid glue build-up and potential damage in the future, consider these tips:
1) Limit wear time: Avoid leaving your glue-in weave on for longer than recommended. Give your natural hair regular breaks to breathe and recover.
2) Properly cleanse your scalp: During installation, make sure that your scalp is clean and free from any oils or residue that may interfere with the adhesive’s effectiveness. Regularly shampooing and conditioning your scalp can help prevent build-up.
3) Follow proper removal techniques: When it’s time to remove your glued-in weave, follow the correct removal techniques outlined earlier in this article. Rushing through or using improper methods can lead to more significant damage.
4) Seek professional help: If you’re unsure about removing a glued-in weave yourself or want to ensure minimal damage, consider seeking professional assistance from a hairstylist experienced in weave removal.
Frequently asked questions about glue removal
Q: Can I reuse my extensions after removing them from a glued-in weave?
A: It depends on the condition of both the extensions and how they were removed. If they are still in good shape and were carefully removed without excessive pulling or tugging, you may be able to reuse them with proper cleaning and maintenance.
Q: How long does it take for adhesive remover to dissolve the glue?
A: The time required for adhesive remover to dissolve the glue varies depending on factors such as brand, type of adhesive used, and how much was applied during installation. Generally, it takes around 5-10 minutes for most removers to start breaking down the adhesive effectively.
Q: Can I remove a glued-in weave without using an adhesive remover?
A: While it is possible to remove a glued-in weave without an adhesive remover by simply pulling at it forcefully, this method is highly discouraged as it can cause severe damage not only to your natural hair but also to your scalp.
Q: How often should I remove and reinstall my glue-in weave?
A: It is generally recommended to remove and reinstall a glue-in weave every 4-6 weeks. This allows your natural hair time to rest and recover from the weight and tension of the extensions.
Conclusion and final thoughts on glue-in weaves
Glue-in weaves can be a convenient way to achieve the long, voluminous hair you desire. However, it’s important to consider both the benefits and drawbacks before deciding if this method is right for you. While they offer instant results, they also come with potential risks such as damage to your natural hair or scalp.
If you do choose to go ahead with a glue-in weave, proper removal techniques are crucial for minimizing damage. By following the step-by-step guide outlined in this article, using the right tools, and taking care of your hair post-removal, you can ensure that your natural locks stay healthy throughout the process.
Remember that there are alternatives available if you decide that glue-in weaves aren’t suitable for your needs. Sew-ins, clip-ins, or tape-ins may be better options depending on factors such as desired longevity or ease of installation/removal.
Ultimately, it’s essential to prioritize the health of your natural hair above all else. With proper care and maintenance, whether wearing a glued-in weave or exploring other methods of achieving longer locks, you can enjoy beautiful hairstyles while keeping your strands strong and healthy.
FAQs
What is the article about?
The article is about providing a step-by-step tutorial on how to remove glue from a weave.
Why would someone need to remove glue from their weave?
Glue is often used to attach weaves to natural hair, but it can be difficult to remove and can cause damage to the hair if not done properly. Removing the glue is necessary if someone wants to remove the weave or if the glue has become uncomfortable or irritating.
What materials are needed to remove glue from a weave?
The materials needed include a clarifying shampoo, a wide-tooth comb, a bowl of warm water, rubbing alcohol, cotton balls, and a hair dryer.
What is the first step in removing glue from a weave?
The first step is to saturate the weave with a clarifying shampoo and warm water, and then use a wide-tooth comb to gently detangle the hair.
What is the next step?
The next step is to apply rubbing alcohol to the glue using a cotton ball, and then use a hair dryer on a low heat setting to soften the glue.
How should the glue be removed?
The glue should be gently scraped off using a comb or fingers, taking care not to pull or tug on the hair.
What should be done after the glue is removed?
After the glue is removed, the hair should be washed and conditioned to remove any remaining residue and to restore moisture to the hair.
Is it safe to remove glue from a weave at home?
Yes, it is safe to remove glue from a weave at home as long as the proper materials and techniques are used. However, if someone is unsure or uncomfortable with the process, they should seek the help of a professional stylist.
Originally posted 2024-01-14 01:44:31.