Weaving is an ancient craft that has been practiced for thousands of years. It involves the interlacing of yarn or thread to create fabric, tapestries, and other woven goods. The history of weaving dates back to prehistoric times when early humans discovered the art of twisting fibers together to create strong and durable materials. Today, Weaving.top with share with you a technique of how to weave with a loom!
One of the most important tools in weaving is the loom. A loom is a device that holds the warp threads in place while allowing the weaver to pass the weft threads through them. Using a loom offers several benefits over other methods of weaving, such as hand-held techniques. It provides stability and control, allowing for more precise and intricate designs.
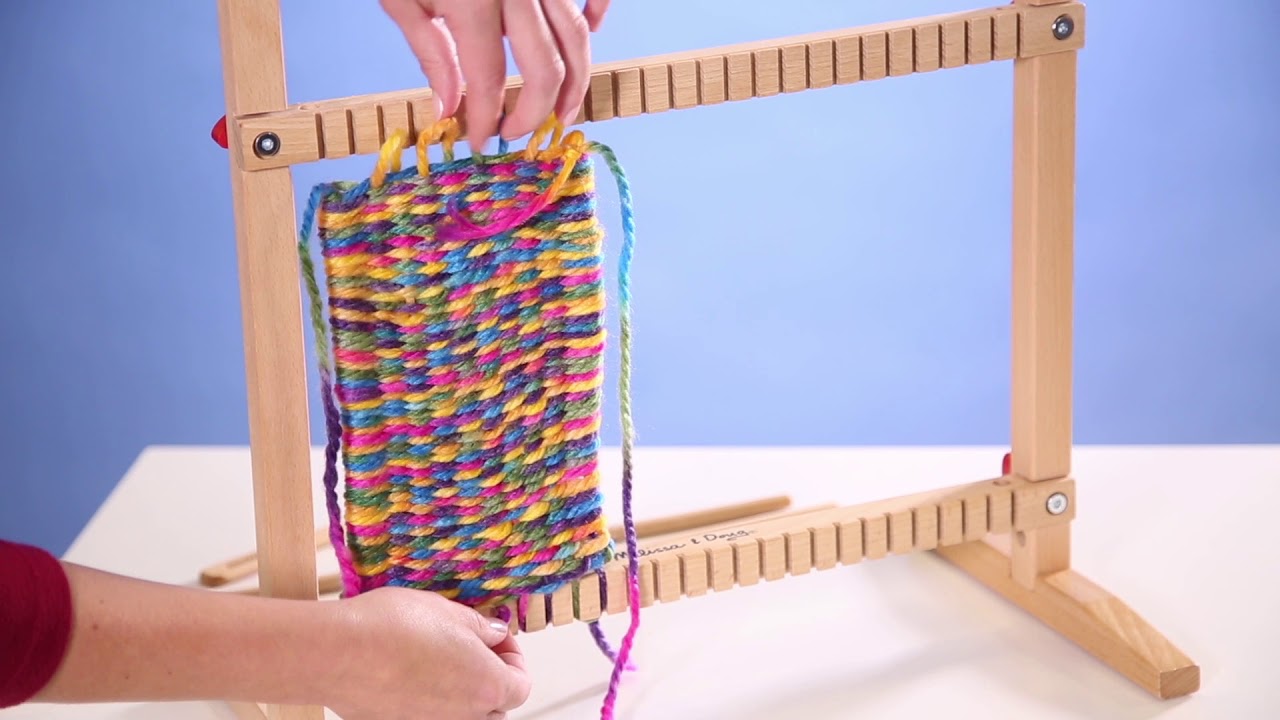
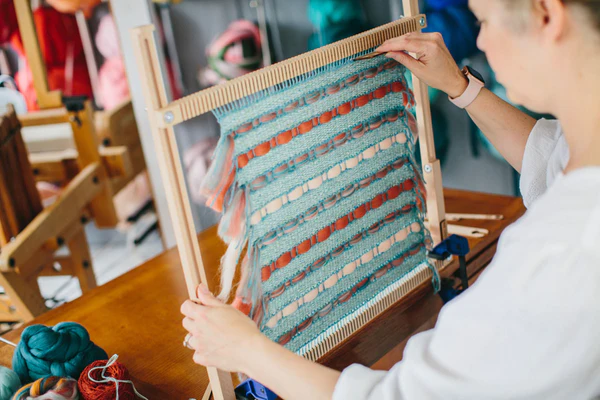
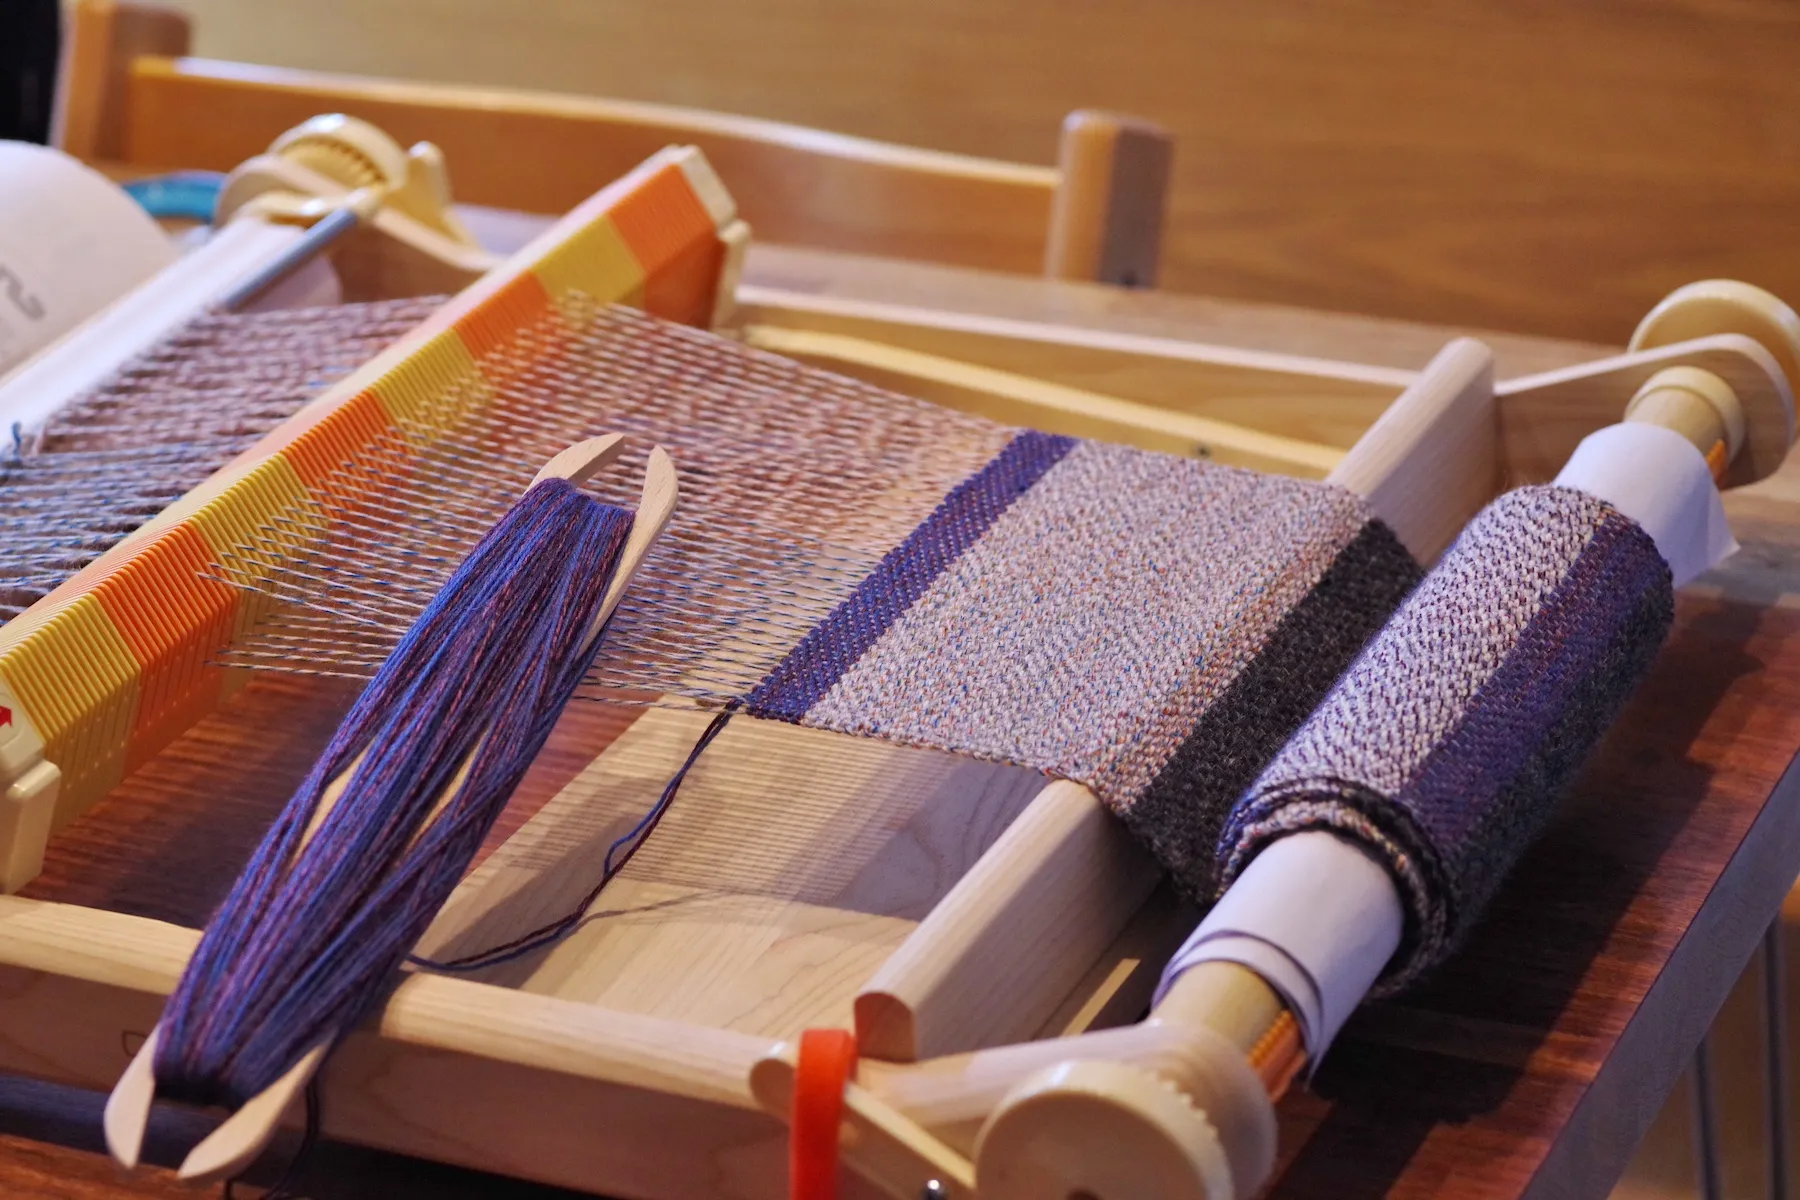
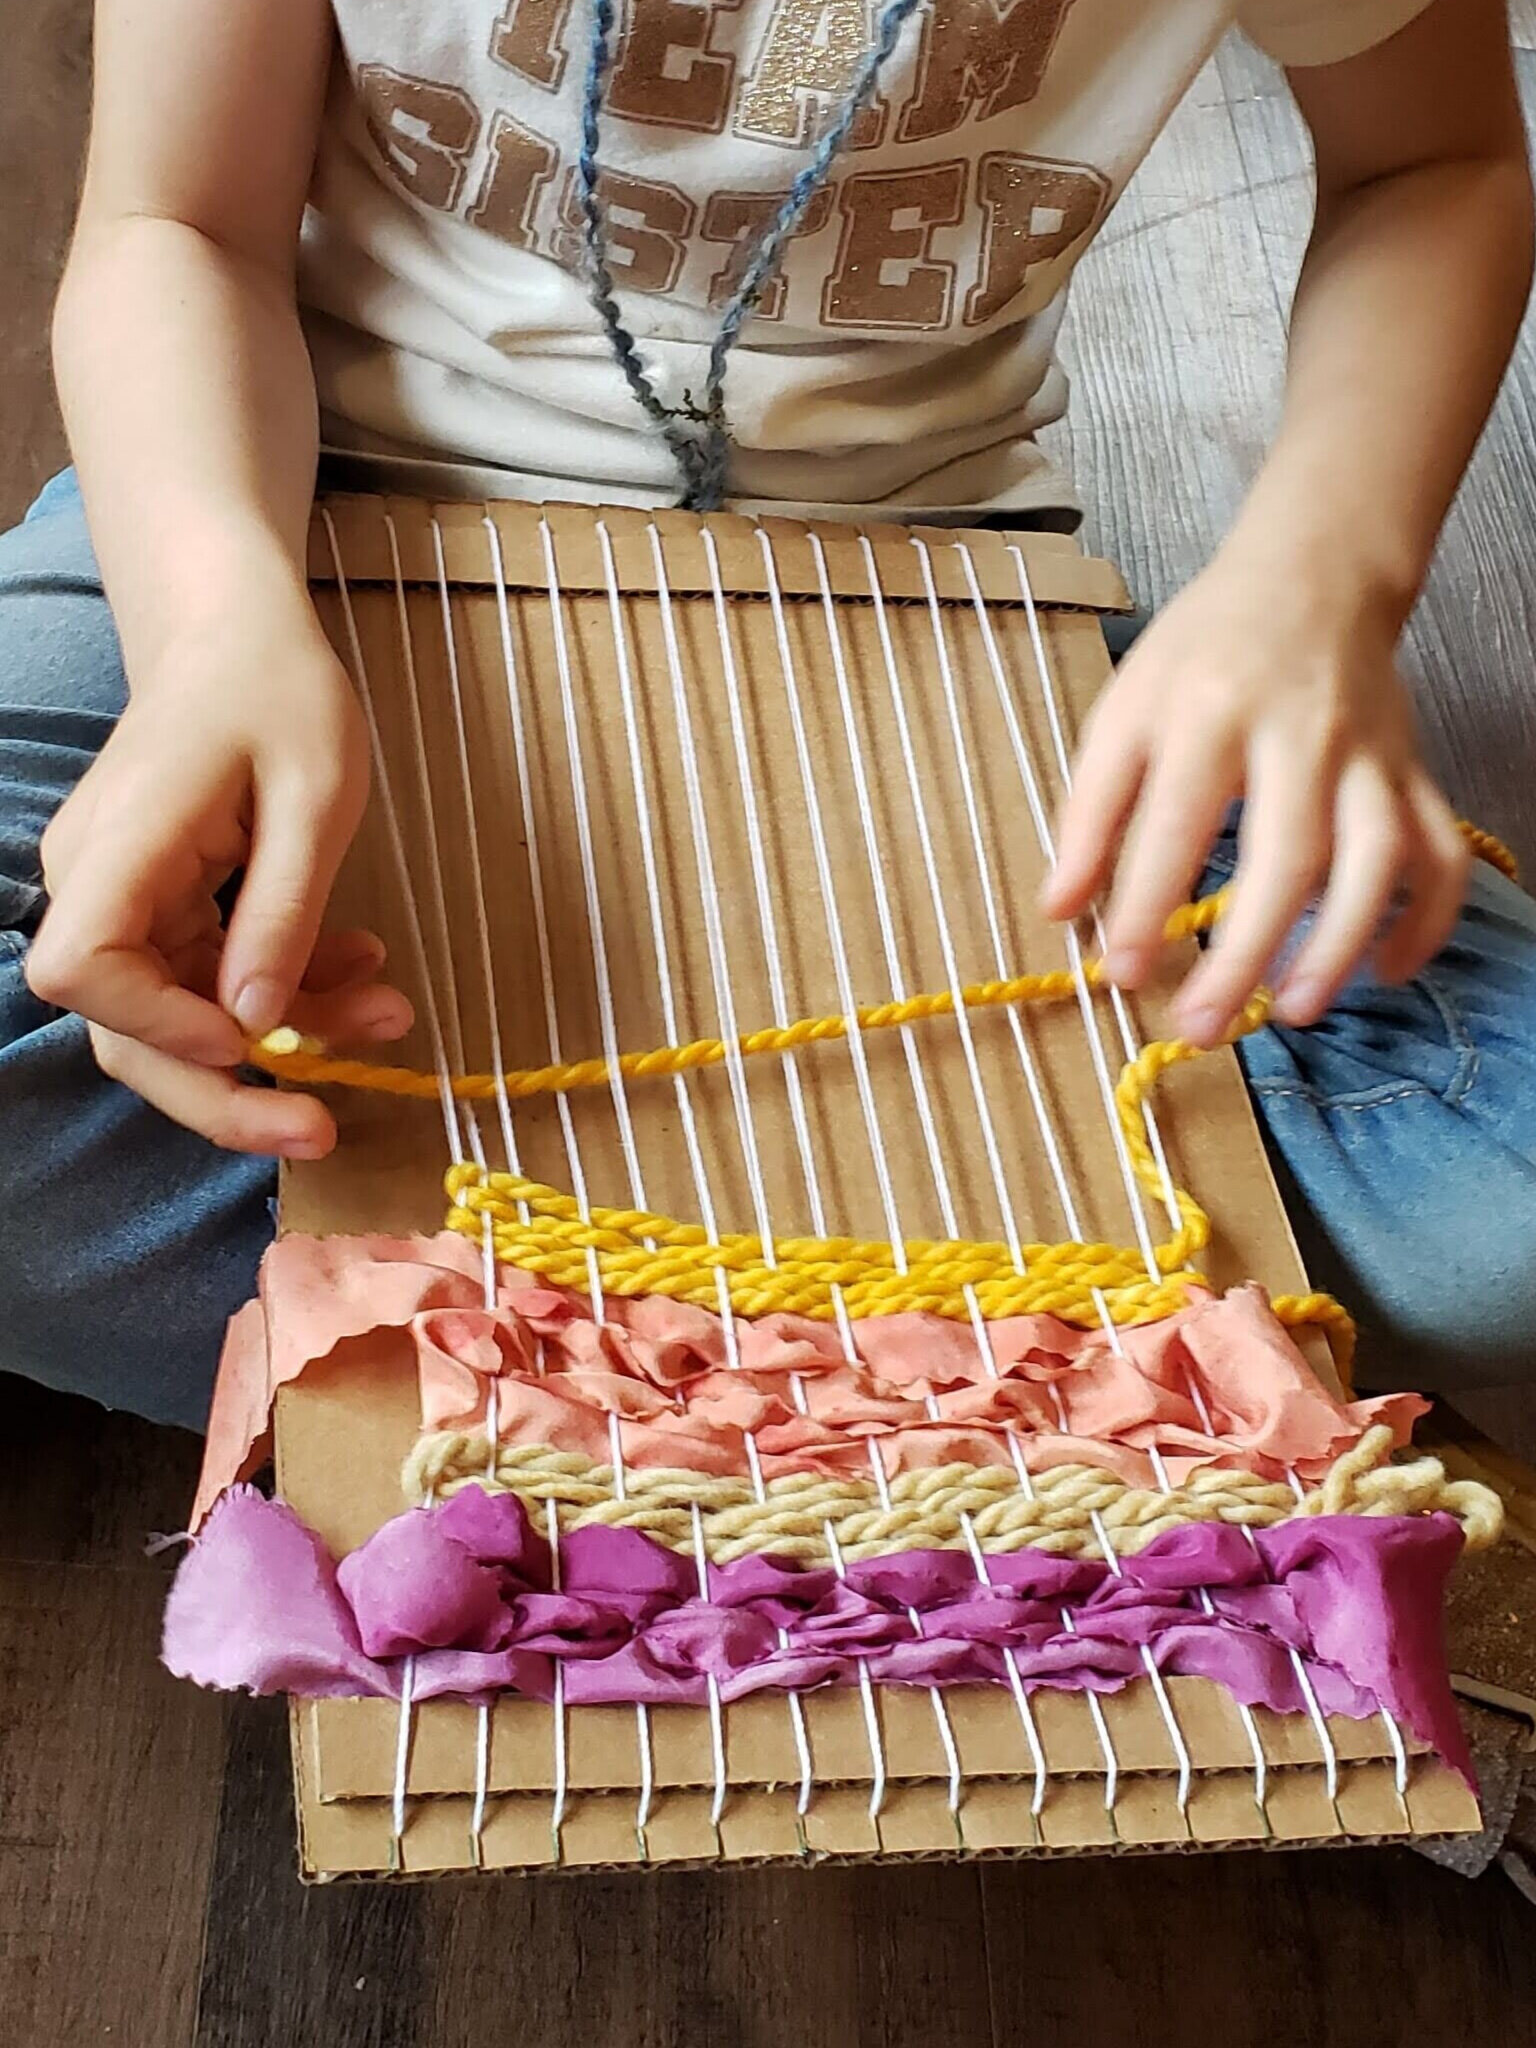
There are various types of looms available on the market today, each with its own unique features and advantages. The most common types include frame looms, rigid heddle looms, table looms, and floor looms. Frame looms are portable and easy to use for beginners or those with limited space. Rigid heddle looms are versatile and can be used for both simple projects and more complex designs. Table looms are compact but offer more advanced features like multiple harnesses for intricate patterns. Floor looms are larger and sturdier, making them suitable for professional weavers or those working on large-scale projects.
Key Takeaways
- Weaving with a loom is a step-by-step process that requires careful preparation and attention to detail.
- Choosing the right loom for your project is essential to achieving the desired outcome.
- Selecting the right yarn for your tapestry is crucial to achieving the desired texture and color.
- Understanding basic weaving terminology is important for communicating with other weavers and following instructions.
- Finishing your tapestry requires careful attention to tying off and removing it from the loom, as well as cleaning and maintaining your loom for future projects.

Choosing the Right Loom for Your Project
When it comes to choosing a loom for your weaving project, there are several factors you need to consider before making a decision.
Firstly, think about what type of project you want to undertake – whether it’s small tapestries or large rugs – as this will determine what kind of size range you should be looking at when selecting your equipment.
Secondly, consider your budget constraints as different types of looms come at varying price points depending on their complexity and size range. It’s important to find a balance between your desired features and what you can afford.
Lastly, take into account the space you have available for your loom. If you have limited space, a smaller loom like a frame or rigid heddle loom might be more suitable. However, if you have ample room and are serious about pursuing weaving as a long-term hobby or profession, investing in a larger floor loom might be worth considering.
Preparing Your Loom for Weaving
Once you’ve chosen the right loom for your project, it’s time to prepare it for weaving. This involves several steps to ensure that your warp threads are properly tensioned and ready to receive the weft threads.
Firstly, assemble your loom according to the manufacturer’s instructions. This may involve attaching various parts such as beams, shafts, and pedals depending on the type of loom you’re using.
Next, adjust the tension of your warp threads by tightening or loosening them using the appropriate mechanisms on your loom. Proper tension is crucial for achieving even and balanced weaving.
After adjusting the tension, it’s time to add heddles and other accessories that will help control the movement of warp threads during weaving. Heddles are small metal or plastic loops that hold individual warp threads in place and allow them to be raised or lowered when creating patterns.
Selecting the Right Yarn for Your Tapestry
| Yarn Type | Material | Weight | Texture | Recommended Use |
|---|---|---|---|---|
| Wool Yarn | 100% wool | Medium to heavy | Soft and fluffy | Best for creating a warm and cozy tapestry |
| Cotton Yarn | 100% cotton | Light to medium | Smooth and soft | Great for creating a lightweight and breathable tapestry |
| Silk Yarn | 100% silk | Light | Shiny and smooth | Perfect for creating a luxurious and delicate tapestry |
| Linen Yarn | 100% linen | Medium | Stiff and textured | Ideal for creating a tapestry with a rustic and natural look |
Choosing the right yarn is essential in creating beautiful tapestries with your loom. There are many different types of yarn available on the market today – from natural fibers like cotton and wool to synthetic materials like acrylic and nylon.
Understanding different types of yarn is important when selecting one that suits both your project requirements and personal preferences. Natural fibers tend to offer more breathability but may require special care during washing while synthetic fibers often provide durability but lack some of those natural qualities.
Consider the weight and texture of the yarn as well. The weight refers to how thick or thin the yarn is, which will affect the overall look and feel of your tapestry. Texture, on the other hand, can add depth and interest to your weaving.
Lastly, color considerations play a significant role in creating visually appealing tapestries. Think about whether you want to use a single color or multiple colors in your design. Experimenting with different color combinations can yield stunning results.
Setting Up Your Warp Threads
Before you can start weaving, you need to set up your warp threads on the loom. This involves measuring and cutting them to the desired length and attaching them securely.
To measure your warp threads, determine how long you want your finished tapestry to be plus any additional length needed for fringe or finishing techniques. Cut each thread slightly longer than this measurement to account for shrinkage during weaving.
Next, attach one end of each warp thread to a secure point on your loom using knots or ties specifically designed for this purpose. Make sure that all threads are evenly spaced across the width of your loom.
Once all warp threads are attached, create a taut warp by winding them around a beam at either end of your loom. This ensures that there is enough tension for smooth weaving without causing strain on the threads or distorting their alignment.
Understanding Basic Weaving Terminology
As you delve into weaving with a loom, it’s important to familiarize yourself with some basic terminology that will help you understand instructions and communicate with other weavers.
Warp refers to the vertical threads that are held under tension on the loom while weft refers to horizontal threads that pass over and under these warps during weaving.
A shed is created when some warp threads are raised while others remain lowered using heddles or other mechanisms on your loom. This creates an opening through which you pass the weft thread.
The beat refers to the action of pushing the weft thread into place using a beater or comb. This helps to pack the weft tightly against the previous rows, creating a solid and even fabric.
Lastly, selvage refers to the edges of your weaving where warp threads turn back on themselves. Creating neat and sturdy selvages is important for maintaining an even tension throughout your tapestry.
Creating Patterns and Designs with Weft Threads
Now that you have set up your loom and understand basic weaving terminology, it’s time to start creating patterns and designs with your weft threads.
There are several basic weaving techniques you can use to achieve different effects in your tapestry. The plain weave is the simplest technique where each weft thread passes over one warp thread then under the next in an alternating pattern. This creates a balanced and tightly woven fabric.
To add texture and color to your tapestry, experiment with different yarns or combine multiple strands together for a more dimensional effect. You can also create patterns by varying how many warp threads are raised or lowered in each shed.
By using different colors of yarn in specific sequences, you can create intricate designs within your tapestry. This could involve creating stripes, checks, or even pictorial representations depending on your skill level and creativity.
Techniques for Weaving with Different Textures and Colors

Weaving offers endless possibilities when it comes to incorporating different textures and colors into your projects.
One way to add texture is by using yarns with varying thicknesses or materials like boucle or chenille that have loops or bumps along their length. These textured yarns can create interesting visual effects when woven into fabric.
Color plays a crucial role in bringing life to any weaving project. You can experiment with color gradients by gradually transitioning from one shade to another within a single row of weaving – known as ombre effect – or by using different colors in specific sections of your tapestry.
Another technique for adding color is through color blending. This involves weaving two or more strands of different colored yarns together to create a blended effect. By alternating the colors in each row, you can achieve a harmonious and visually appealing result.
Finishing Your Tapestry: Tying Off and Removing from the Loom
Once you have completed your tapestry, it’s time to finish it off and remove it from the loom.
To tie off your tapestry, cut the warp threads leaving enough length for fringe or other finishing techniques. Securely knot or weave these ends back into the fabric to prevent unraveling.
Carefully remove your finished tapestry from the loom by loosening any tensioning mechanisms and gently sliding it off. Take care not to pull on any threads too forcefully as this could distort or damage your weaving.
To give your tapestry a polished look, consider finishing techniques for the edges such as hemming or adding decorative trims. These details can enhance the overall appearance of your piece and provide a professional touch.
Tips for Cleaning and Maintaining Your Loom
Regular maintenance is essential to keep your loom in good working condition and ensure its longevity.
Firstly, make sure to clean any dust or debris that may accumulate on your loom after each use. Use a soft brush or cloth to gently wipe down all surfaces including beams, pedals, heddles, and reeds if applicable.
If you’re working with sticky materials like glue during certain projects, take extra care to remove any residue that may have transferred onto parts of your loom. Use mild soap diluted in water if necessary but avoid getting excessive moisture on wooden components as this could cause warping over time.
When not in use, store your loom in a dry environment away from direct sunlight or extreme temperature fluctuations that could damage its structure or finish. Cover it with a dust sheet or fabric to protect it from dust and potential scratches.
Exploring Advanced Weaving Techniques and Projects
Once you have mastered the basics of weaving with a loom, you can start exploring more advanced techniques and projects to challenge your skills and creativity.
Tapestry weaving is a popular technique that involves creating intricate designs using discontinuous weft threads. This allows for greater control over color placement and pattern creation.
Weaving with multiple colors opens up endless possibilities for creating complex patterns and designs. By carefully planning your color choices, you can achieve stunning visual effects that rival those found in traditional art forms like painting or mosaic work.
For those looking to take their weaving to the next level, experimenting with complex patterns such as overshot or double weave can provide an exciting challenge. These techniques involve manipulating multiple layers of warp and weft threads simultaneously to create intricate structures or motifs within your fabric.
I encourage anyone interested in this ancient art form to give it a try! With practice and patience comes mastery – so don’t be discouraged if things don’t turn out perfectly at first. There are countless resources available online including tutorials videos books workshops where you can learn more about weaving techniques find inspiration connect with other weavers who share similar interests!
So go ahead – grab yourself a loom some yarn let’s get weaving!
FAQs
What is weaving?
Weaving is the process of interlacing two sets of yarn or thread at right angles to create a fabric or textile.
What is a loom?
A loom is a device used to weave fabric or textiles. It consists of a frame, a set of threads or yarns called the warp, and a set of threads or yarns called the weft.
What are the different types of looms?
There are several types of looms, including frame looms, rigid heddle looms, table looms, floor looms, and tapestry looms.
What materials are needed for weaving with a loom?
Materials needed for weaving with a loom include a loom, warp yarn or thread, weft yarn or thread, a shuttle, a beater, and scissors.
What is the process of setting up a loom?
The process of setting up a loom involves attaching the warp yarn or thread to the loom, threading the warp through the heddles and reed, and tying the warp onto the front and back beams of the loom.
What is the process of weaving with a loom?
The process of weaving with a loom involves passing the weft yarn or thread through the warp threads, beating the weft into place with a beater, and repeating the process until the desired length of fabric is woven.
What are some tips for weaving with a loom?
Some tips for weaving with a loom include keeping the tension even, beating the weft firmly but not too tightly, and using a shuttle to pass the weft through the warp. It is also important to take breaks and stretch your hands and arms to prevent strain.
Originally posted 2024-01-15 02:51:53.